


These were the 2 colors I used, white and an almost lavender pink and a size 3 crochet hook (sorry, I don't know what this translates into your sizes).
It's 100% cotton, Mississippi Tex by Katia--I don't know if you can find it where you are but I'm sure you can find a lovely cotton yarn that will produce the same results.

Off we go!
Make a chain as long as the width you want your blanket to be. The finished size of mine is about 50cm x 70cm, so I made a chain of 140 and made 64 clusters of 2 double stitches.
Now what's that?!

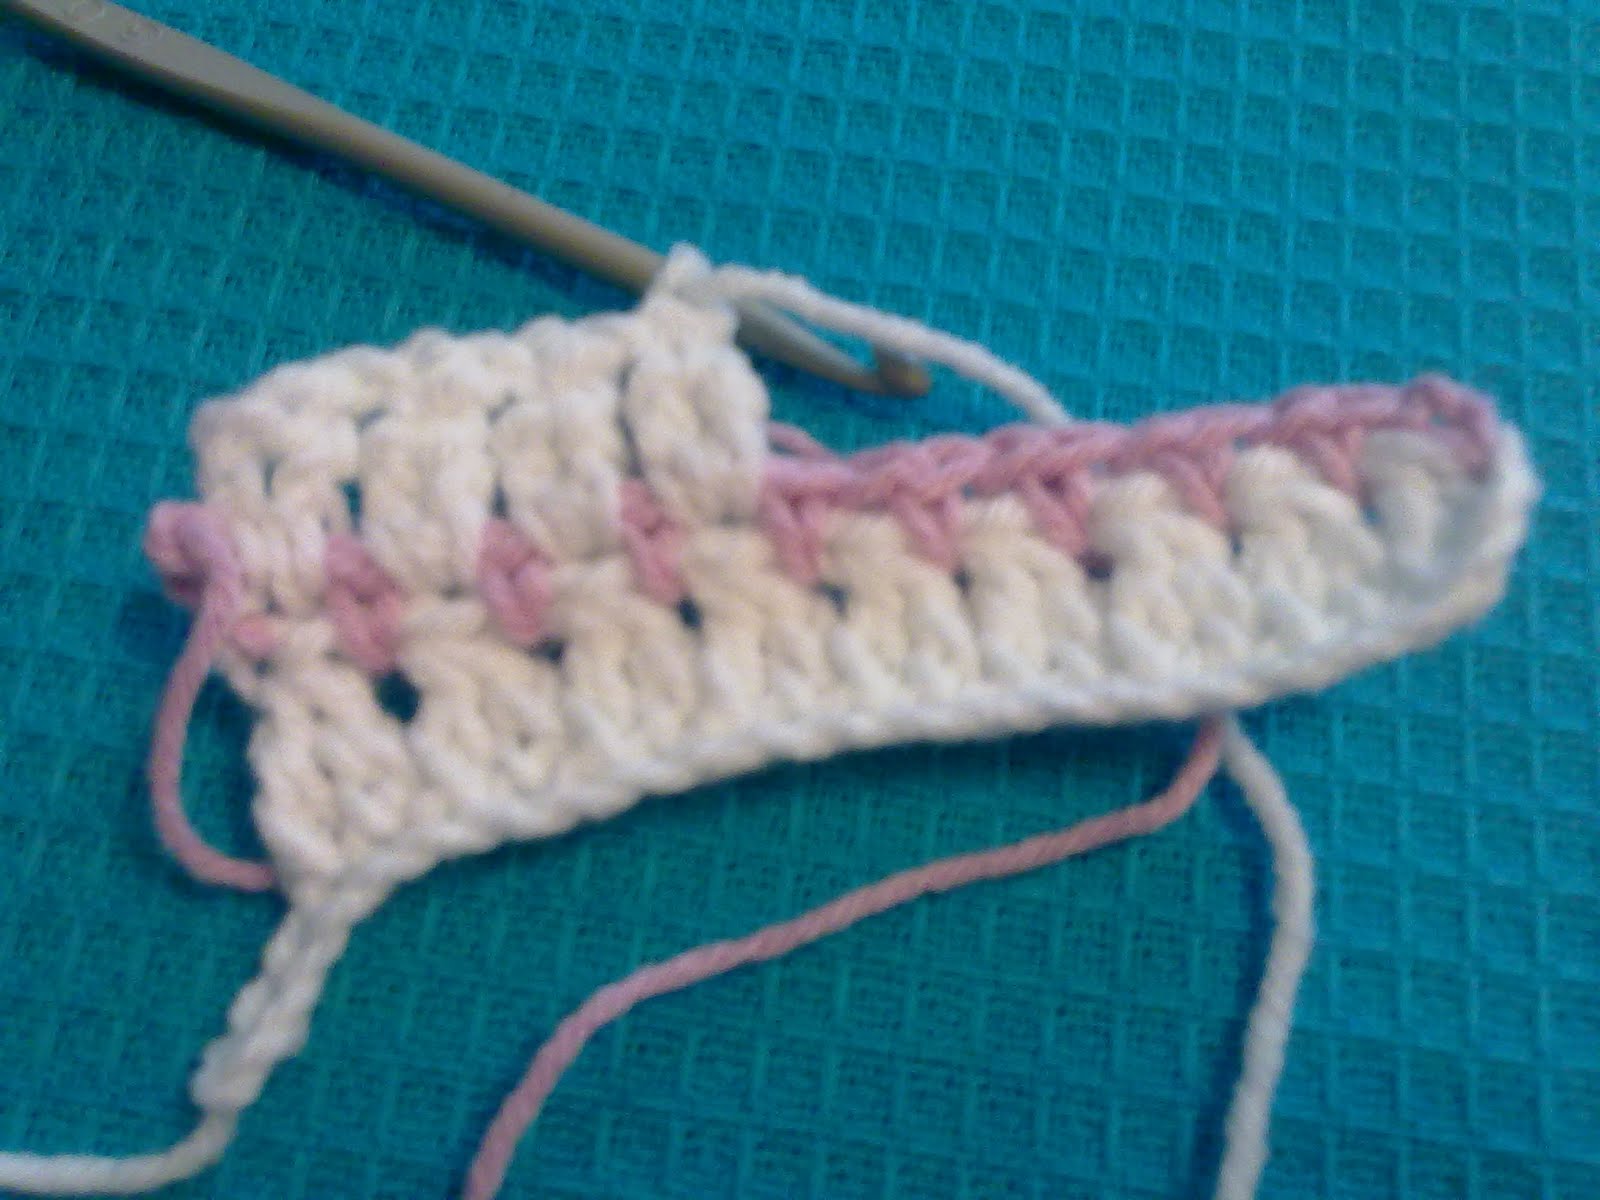
That means I turned around after I made the chain and stuck the hook in the 4th chain, to make a double stitch.
Then one chain and a cluster: stick the hook in the next chain, pull the thread once, twice, and leave the other 2 loops in the hook. Stick the hook in the next chain, pull the thread up again, one, twice, and all 3 loops together at last. That means the 2 double stitches will be joined together at the top, forming a cluster of 2.
*Cluster of 2, chain, cluster of 2, chain**...repeat from * to ** for as long as you want it to be.
Still with me?
Good, then all you have to do is repeat this until the end of the chain. As I said above, I made 64 clusters. That means I had a few chains left at the end of the row, but that's ok, you can pull them apart later.


Now that your first row is ready, it's time to join the other color. I used pink because it's for a baby girl, but it looks great in blue and I can imagine it is lovely in aqua too!
So here's what you do at the end of the row: just pull the ball of white through the last loop as if you wanted to bind of, but don't cut it. That way you won't have to tuck in a bunch of little tails when you're done :)
Then attach the pink. Or the blue or acqua or whatever color you chose. Just pull it through the beginning of the row, as you would with the previous color. And then you do a short stitch over each chain of the previous row and a chain over each cluster.
Easy, isn't it?
And at the end of the row. pull the thread through too, so that it doesn't come undone.

Next row: back to the clusters.
Just pick up the white thread wherever it is (either left or right) and work it as it is. It doesn't matter if the pink row goes left to right or right to left. You just work the next row as you would if you didn't have a pink one in between.
Make a cluster over a chain and a chain over a short stitch. Each cluster ends up on top of the one you made before, see?

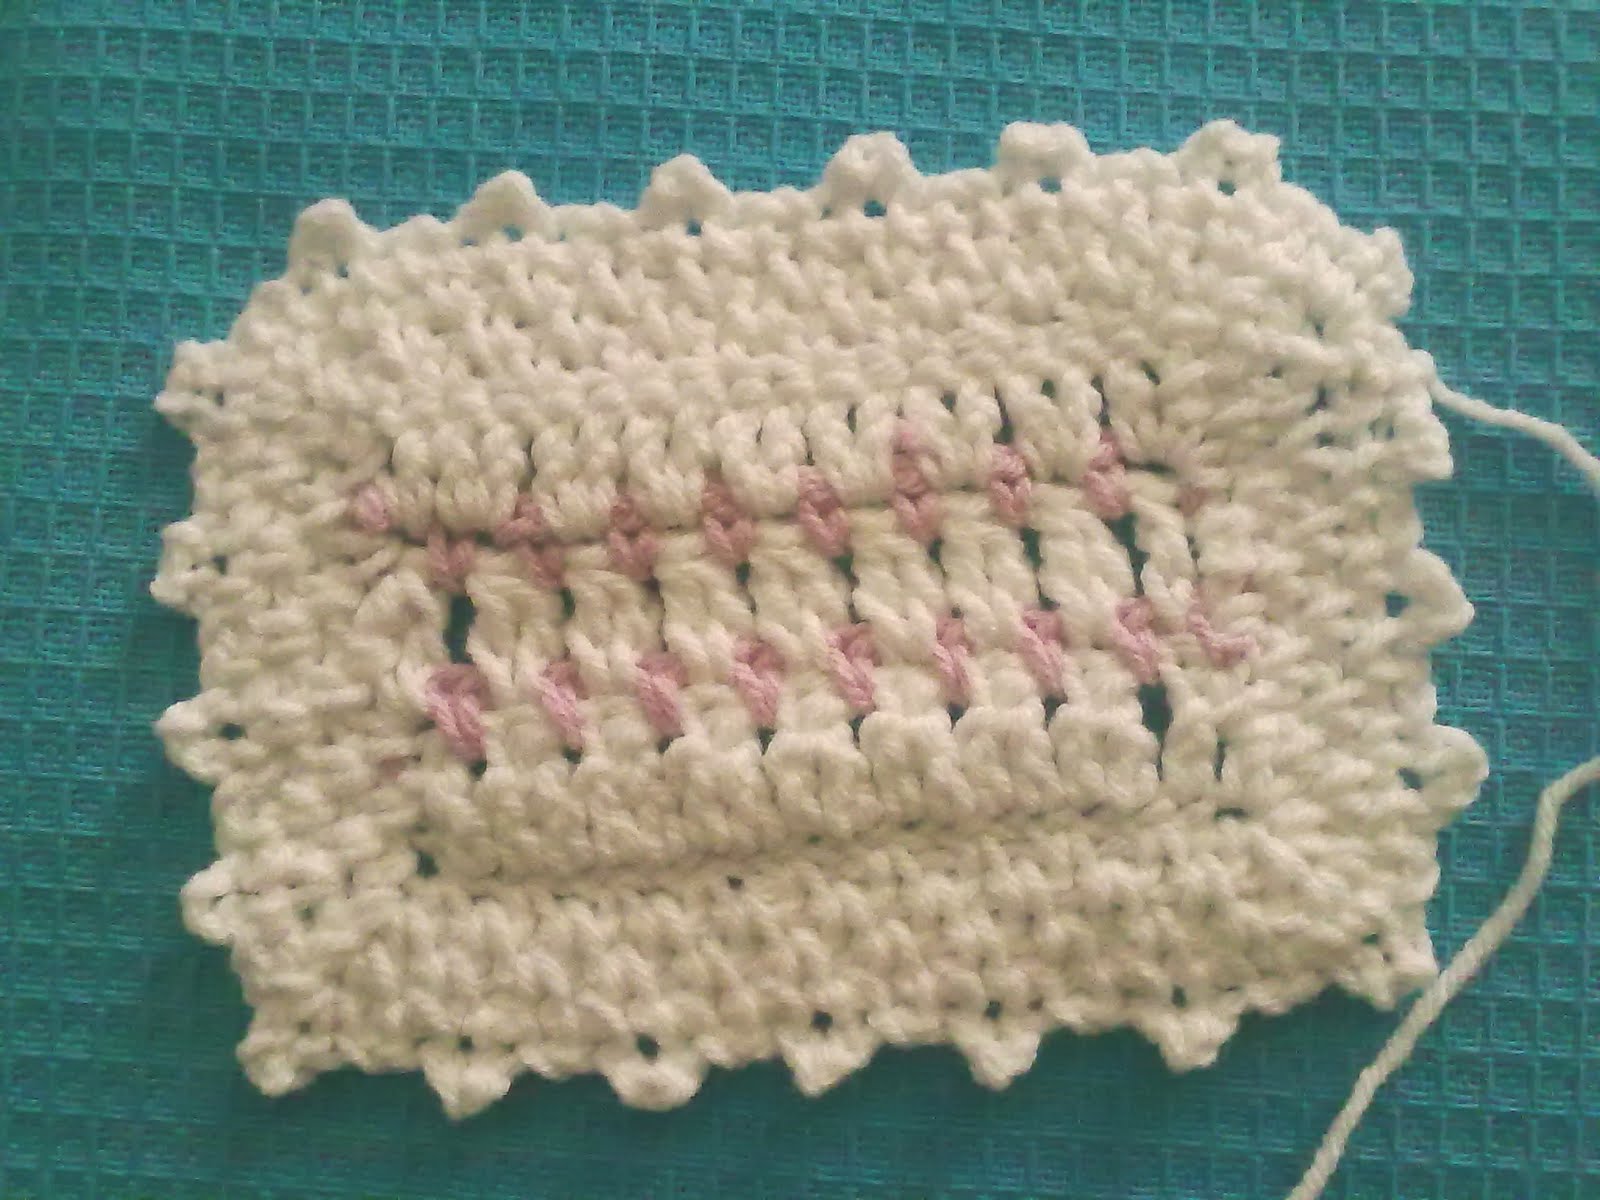
So now... just keep working! Make it as long as you want--I made 51 rows of white with 50 rows of pink in between.
It's easy and really nice to work on!

When you want to finish, you will work the other way, that is, instead of making clusters you'll be making simple double stitches. I tried it both ways and decided this way looked nicer.
Sorry this only has 3 rows of white but I was running out of yarn and needed to show you the border!

So now you're ready for the border. That's really easy too! Just like you did for the pink row: one short stitch, one chain, repeat until the end of the row.
That's very easy, right? The only tricky part is in the corner: you make a short stitch, a chain and another short stitch in the same hole to turn around. Then you make the side of the blanket. I made 2 short stitches separated by a chain per set of 2 rows (white and pink), that was the way it worked best for me. Just keep at it until you have made a full round.

"Jump" up to the next row. Just make a short stitch over a chain and a chain over a short stitch... and always a short stitch, chain and short stitch for a corner.

3 rows done, this is what it looks like. I made 4 on my baby blanket.

Finally, the last row. It's just like the previous ones.
But now you're going to do a little variation. *One short stitch, one chain, one short stitch. Then 3 chains, attach to the short stitch to form a picot**, that little loop you see, over the next short stitch. Then back to * and repeat to ** until you've done the entire row.

Bind off... you're done! And as you can see, no "icky" nasty little loose ends to tuck in except for the last one...
And it looks just as nice from the back side as it does from the right side.
I really hope I was clear enough--but if you have any questions, just let me know!
And let me know if you've started something with this pattern :) baby blankets are so nice to make! Have fun and have a great week :)
xxx
Oh, I almost forgot! The flower... is just a variation of a Japanese flower, with 8 petals :)
oh my this looks so good ,i may need to try that one out soon :)))
ResponderEliminarThank you for the tutorial, I love the blanket you made with just that little hint of pink. I'm pinning this on Pinterest so I can always find it in future :-)
ResponderEliminarWowwwww, thanks for the pattern,I'm sure that I will make it as soon is possible for me...I like it !!!
ResponderEliminarLove
Marjo
Thank You!
ResponderEliminarThis is definitely a GoTo pattern. When anyone tells me they are pregnant I search and search for an easy quick pattern and this one is perfect. The single color row adds just the right amount of color.
Perfect.
xx, Carol
Teresa, this is so beautiful and so simple once you spelled it all out for us. Thanks for the tutorial it was really helpful. I am making an 8 petal flower scarf right now and loving it.
ResponderEliminarHave a wonderful day,
MEredith
Querida Teresa,
ResponderEliminarQuando terminar meu tratamento , eu irei à Portugal visitá-la .Provavelmente no ano que vem , porque o tratamento irá demorar
Beijos
Marjo
is it good Portuguese or very good hahahahahhah ??????
Hi Teresa...:)
ResponderEliminarI did look the pretty tree up the other day, and found out it can grow in california...but I don't think here...winter would be too hard on it...but thank you for finding out what it is...
and the tutorial is great...an easy stitch to work up fast when you need something pretty...
HERMOSOS TRABAJOS!!! MUY BUENA EXPLICACION. TE ESPERO EN MI CASITA, PARA COMPARTIR ESTA PASIONPOR EL TEJIDO... SALUDOS... ALEJANDRA
ResponderEliminarHi Teresa, I'm a little late getting around to trying this delightful blanket of yours...but I'm making one NOW! I've been working on it today...you're right, it's fun to make once you get comfortable with the pattern! A friend of mine has a daughter who has just conceived...and this is a very special baby...they tried very hard for this one! We're all very excited for her and I'm starting to put together a few things for the baby! This was the blanket that popped into my mind immediately! Love it! Happy New Year, my friend! Hugs, Annette
ResponderEliminarTeresa,
ResponderEliminarI love this pattern! I am making this blanket for my sister's baby shower gift. I have a question for you, I am unsure how to do a short stitch. Could you help out? Thank you so much!
Kayla
Hi Kayla,
ResponderEliminarI tried to find an address to repply to you directly but couldn't find one so... hope you read this! The short stitch... is a single crochet (I guess I made up that name because that's what we call it in Portugal!) Sorry! If you need anything just leave me a note or email me :)
Teresa